

Blog
How to Sterilize Surgical Instruments: Autoclave Guide for Clinics

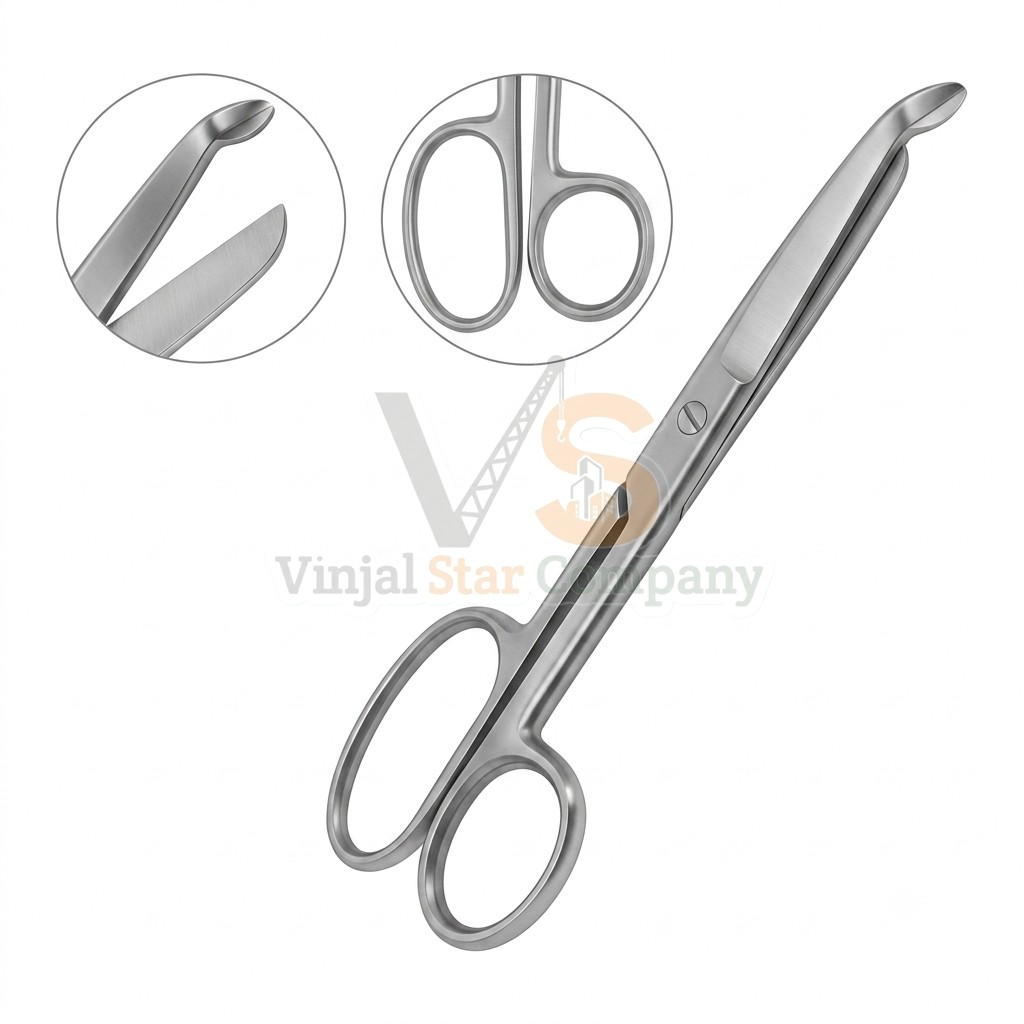
If you work in a clinic, hospital, or surgical center, knowing how to sterilize surgical instruments correctly is one of the most important skills your team can master. Proper sterilization protects patients from infection, keeps instruments performing like new for years, and keeps your facility compliant with health regulations. This guide walks you through the complete process — from cleaning to autoclave cycles — in plain language.
Why Proper Sterilization Matters
Surgical instruments come into direct contact with tissue, blood, and bodily fluids. Even a microscopic amount of residue can harbor bacteria, viruses, or spores that cause serious infections. Sterilization destroys all microbial life, including highly resistant bacterial spores that ordinary disinfection cannot kill.
Beyond patient safety, correct sterilization protects your investment. Quality stainless steel instruments are built to last through hundreds of autoclave cycles — but only if they are cleaned, handled, and sterilized the right way. Poor technique leads to staining, pitting, corrosion, and dull cutting edges, forcing early and expensive replacement.
How to Sterilize Surgical Instruments: Step-by-Step Process
Step 1 – Pre-cleaning (Do It Immediately)
Sterilization starts long before the autoclave. As soon as possible after a procedure, rinse instruments with cool water to remove blood and debris. Never let blood dry on instruments — dried blood is far harder to remove and can bake onto the surface during sterilization, causing permanent stains.
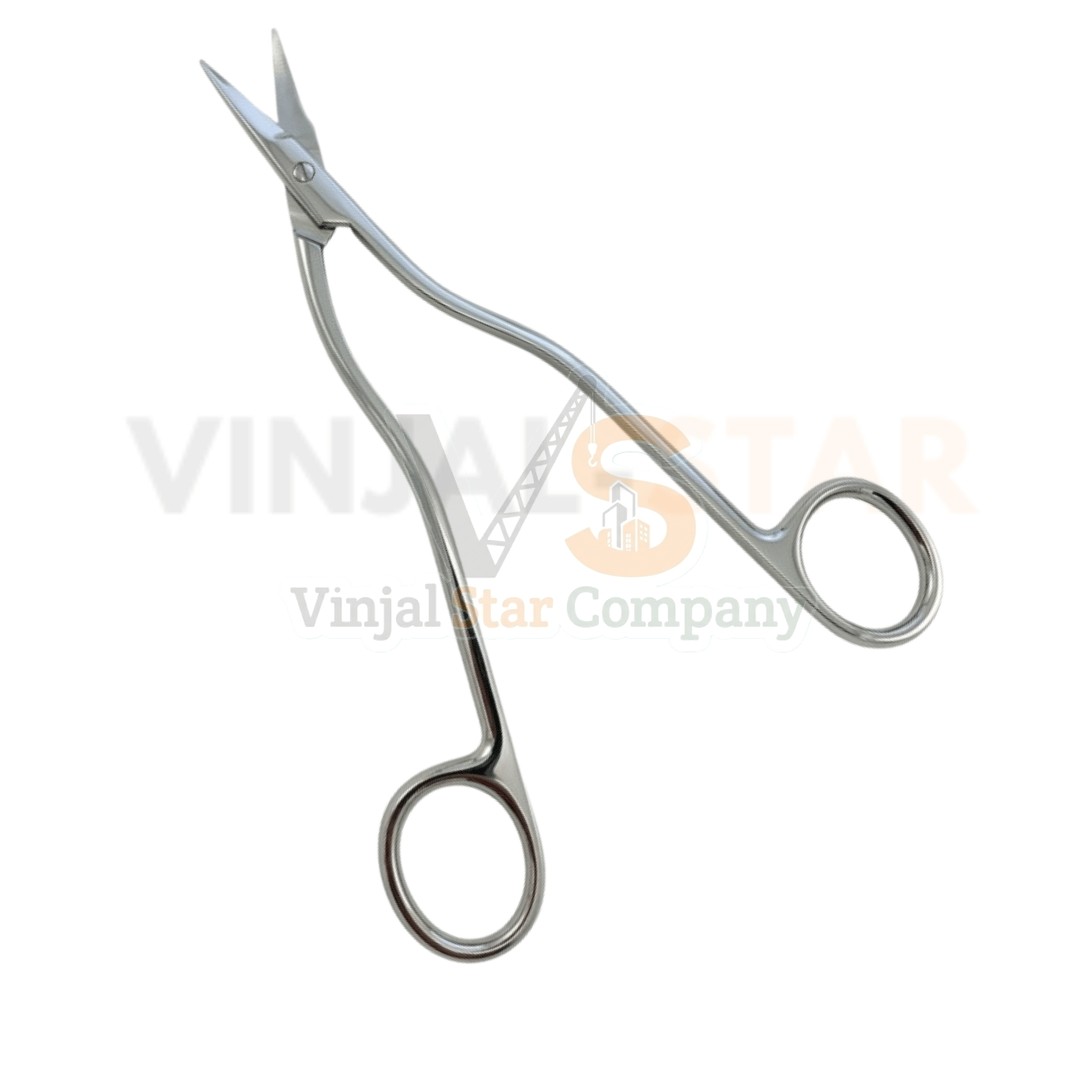
Soak instruments in an enzymatic cleaner or a neutral-pH instrument detergent, following the detergent manufacturer’s dilution instructions. Open all hinged instruments (scissors, forceps, needle holders) so the solution reaches every surface.
Step 2 – Thorough Cleaning
After soaking, scrub each instrument with a soft brush, paying special attention to box locks, serrations, and crevices. Ultrasonic cleaners are excellent at this stage — high-frequency sound waves dislodge debris from hard-to-reach areas. Rinse thoroughly afterward; detergent residue left on instruments can cause staining during autoclaving.
Step 3 – Inspection and Lubrication
Before packaging, inspect every instrument under good light. Look for cracks, bent tips, loose screws, dull edges, or corrosion. Set damaged instruments aside for repair or replacement — never sterilize and reuse an instrument that is not fully functional.
Apply a water-soluble instrument lubricant to hinged joints and moving parts. This keeps box locks working smoothly through repeated steam exposure. Avoid oil-based lubricants, which can interfere with sterilization.

Step 4 – Packaging
Place instruments in sterilization pouches, wraps, or rigid containers designed for steam sterilization. Arrange them so steam can circulate freely — never cram pouches tightly together. Include a chemical indicator inside each pack; it changes color when exposed to correct sterilization conditions. Label each pack with the sterilization date and load number for tracking.
Step 5 – Autoclave Cycles: 121°C vs 134°C Explained
The autoclave (steam sterilizer) is the workhorse of instrument sterilization, using pressurized steam to kill all microorganisms. The two standard cycles are:
Gravity-displacement cycle at 121°C (250°F): Steam enters the chamber and pushes air out by gravity. A typical cycle runs about 30 minutes at 121°C and 15 psi, plus drying time. This gentler cycle suits most standard instruments and is easier on delicate items.
Pre-vacuum cycle at 134°C (275°F): A vacuum pump removes air before steam enters, letting steam penetrate wrapped packs and narrow lumens faster. A typical cycle runs just 3–4 minutes at 134°C and 30 psi, plus drying time. It is ideal for busy clinics, though the higher temperature can be harder on instruments over time.
Which should you choose? For routine stainless steel instruments, either validated cycle works. Many clinics use 134°C for speed and 121°C for delicate items. Always follow your autoclave manufacturer’s instructions and validate cycles with biological indicators regularly. Let packs dry completely inside the autoclave before handling — touching wet packs can wick contaminants through the packaging.
How to Sterilize Surgical Instruments Without Damaging Them: Common Mistakes
Learning how to sterilize surgical instruments correctly also means avoiding these common errors:
- Using the wrong detergent. Household cleaners, bleach, or highly alkaline/acidic solutions corrode stainless steel. Always use neutral-pH detergents made for surgical instruments.
- Overloading the autoclave. Packs need space for steam circulation. An overloaded chamber leaves cold spots where sterilization fails.
- Mixing metals. Never sterilize dissimilar metals together — galvanic reactions cause pitting and discoloration.
- Skipping the drying cycle. Removing packs early leads to wet packs and potential contamination.
- Using hard tap water. Mineral deposits stain instruments. Use distilled or demineralized water for the final rinse if your water is hard.
- Sterilizing hinged instruments closed. Always sterilize scissors and forceps in the open position so steam reaches the box lock.
Instrument Care Tips to Extend Instrument Life
- Rinse instruments immediately after use — never let blood or saline dry on them.
- Keep tungsten carbide inserts away from abrasive cleaners.
- Store sterilized packs in a clean, dry, dust-free area; check packaging integrity before use.
- Rotate stock so older packs are used first.
- Train every team member on the same protocol — consistency prevents damage.
A Note on Manufacturer and Regulatory Guidance
This guide covers standard instrument-care practices, but it does not replace the instructions that come with your specific instruments or sterilizer. Always follow the instrument manufacturer’s cleaning and sterilization instructions, your autoclave manufacturer’s operating manual, and your country’s health regulations. When in doubt, consult your facility’s infection-control officer.
Frequently Asked Questions
How often should surgical instruments be sterilized?
After every single use. Any instrument that contacts a patient must be cleaned and sterilized before it touches another patient — no exceptions.
Can you sterilize surgical instruments without an autoclave?
Steam sterilization in a validated autoclave is the gold standard. Dry heat and chemical sterilants exist for specific situations, but they have limitations and longer cycle times. For routine clinic use, an autoclave is the safest, most practical choice.
Why do my instruments have brown stains after autoclaving?
Brown or rainbow-colored stains usually come from mineral deposits in water, detergent residue, or blood baked onto the surface — not rust. Improve rinsing, use distilled water for the final rinse, and clean instruments promptly after use.
How long do sterilized instrument packs stay sterile?
It depends on the packaging and storage conditions. Properly sealed pouches stored in a clean, dry environment typically maintain sterility for months, but always check the pack’s integrity and your facility’s policy before use.
Get Instruments Built to Last
Sterilization is only half the equation — the other half is starting with instruments made from quality materials that withstand hundreds of autoclave cycles. Vinjal Star manufactures durable, fully autoclavable surgical, dental, and orthopedic instruments in Sialkot, Pakistan, supplying clinics, hospitals, and distributors worldwide at wholesale prices, with OEM and private-label options. For catalogs and pricing, contact us at info@vinjalstar.com.